To produce an excellent output, it’s not enough for graphic designers to be creative and passionate about their work. They also need to be organized and systematic with their creative process. In this article we discuss How to Create a Graphic Design Workflow.
A proper graphic design workflow ensures your output meets client expectations and targets the intended audience. It also helps make your workflow more streamlined. That helps minimize the back-and-forths that can lead you to miss client deadlines.
Here are six steps to help you create a great graphic design workflow.
Table of Contents
1. Perform Market Research
There’s no universal design that appeals to all audiences. There’s only specific imagery that resonates with a specific group of people. So, it’s good to understand your client’s target market before proceeding with a project.
If your client’s business does not have a target audience yet, it may help to brainstorm with them. That will help you visualize who you’ll be creating the design for.
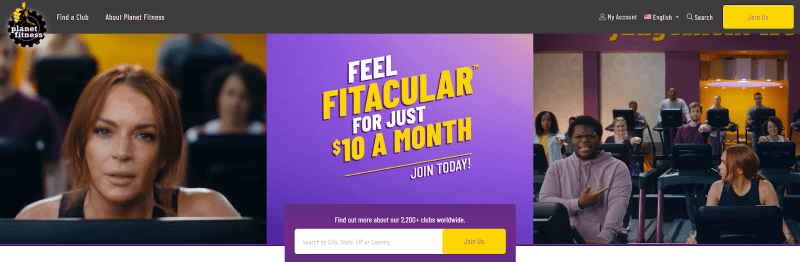
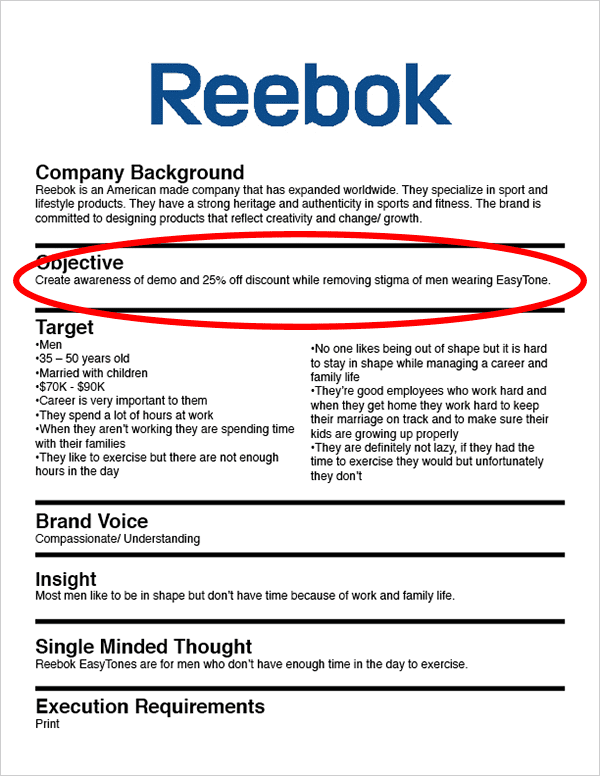
Let’s say your client is in a fitness niche. In that case, you may look at other fitness website designs, for example. You may also look at different fitness industry design trends. In Planet Fitness’ case, they use diagonal typography to make their copy feel more dynamic.
Understand the audience’s lifestyle, too, so you can incorporate the imagery they’re familiar with. For example, for the fitness industry, that can include treadmills, protein shakes, and face towels.
If your client is already an established company, they may already have a well-defined audience. In that case, assess their current branding.
The reason here is simple: You want your output to be consistent with your client company’s branding. It’s because you can only appeal to that brand’s audience by sticking to that same branding.
So, suppose your clients are asking for a website wireframe. Look at their social media and storefronts. You can even them ask about their required font, colors, and other visual elements in their marketing collateral. After all, these are more likely already specified in their eCommerce, B2C or SaaS marketing plan, whichever applies.
Market research is a critical aspect of the creative process. Always bear this in mind when you’re starting a project.
2. Check the Brief
The creative brief is the basis of the design output. It contains essential guidelines you should follow when creating the design.
The brief allows you to stick to specific guidelines. It fast-tracks a graphic designer’s process and directs the output in the desired direction.
Here are the things the brief should specify:
- Output description. This is the type of graphic design service you will render. Is it a social media ad, billboard, flyer, or a website?
- Goals of the output. Is this increasing e-commerce sales, improving website user experience, etc.?
- Target audience. This section should outline the audience’s demographics and interests.
- Design guidelines. These may be influenced by the client’s existing branding or the market research process.
- Expected turnaround time
- Included copy, if any. Use a style guide that’s consistent with the client’s brand tone if you’ll be the one writing the copy.
- Budget. This section should include the client’s budget for your services.
- Other notes from the client. That may include requests like reducing drop shadow, increasing brightness, among others.
The brief may be created through client meetings. Get the client involved in the graphic design process by asking them the relevant points above. Have them sign the brief to prevent disputes over the graphic design project.
Make sure you ask for their email address so you can send them a copy of the final brief, too. If they gave their consent for you to send them the document via email but forgot to give you their address, just use an email finder.
3. Perform Visual Brainstorming

When it comes to SaaS marketing, visual brainstorming can be a valuable tool to help determine what the client is looking for. In addition to a creative brief that outlines the project requirements, it’s helpful to create a mood board. A mood board is a curated collection of design ideas that can be sourced from various places like competitor designs, Pinterest, Google Images, or inspiration blogs.
The purpose of the mood board in SaaS marketing is to convey the overall concept and aesthetic that you’re trying to achieve. While it doesn’t show the actual outputs yet, it helps communicate to clients the look and feel you’re aiming for.
Once you have created the mood board, it’s essential to have the client assess it. If the client approves the mood board, you know you’re headed in the right direction with your SaaS marketing strategy.
4. Create a Design Outline
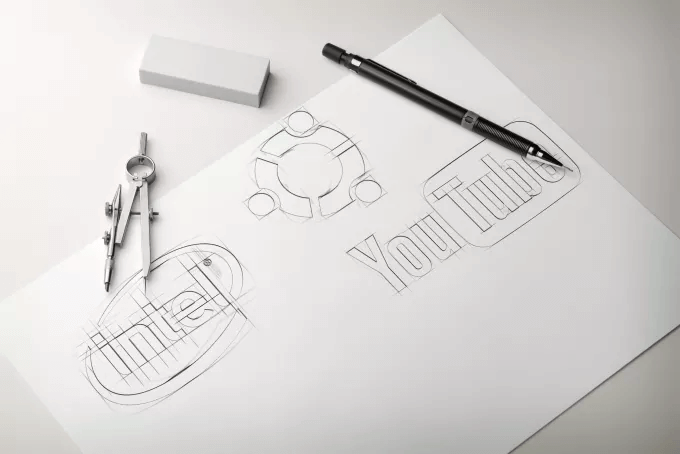
You may use pen-and-paper or design software to create your first design outline. A design outline is a design showing what the intended output will look like. It is, however, usually not fully rendered yet.
This outline should consider the finalized creative brief and mood board.
That’s not to say you should create only one design outline. Create multiple outlines. After all, these aren’t your final designs. They’re just potential designs. You will have to show these to the client, who will have to pick their preferred one.
Because design outlines are only rough designs that aim to show the client what you plan to do, you don’t need to render or polish them just yet. The polishing process is time-consuming and will affect your turnaround time. Remember, not all of those outlines will be chosen by the client. That means you will have wasted your time and effort polishing them if you do polish them.
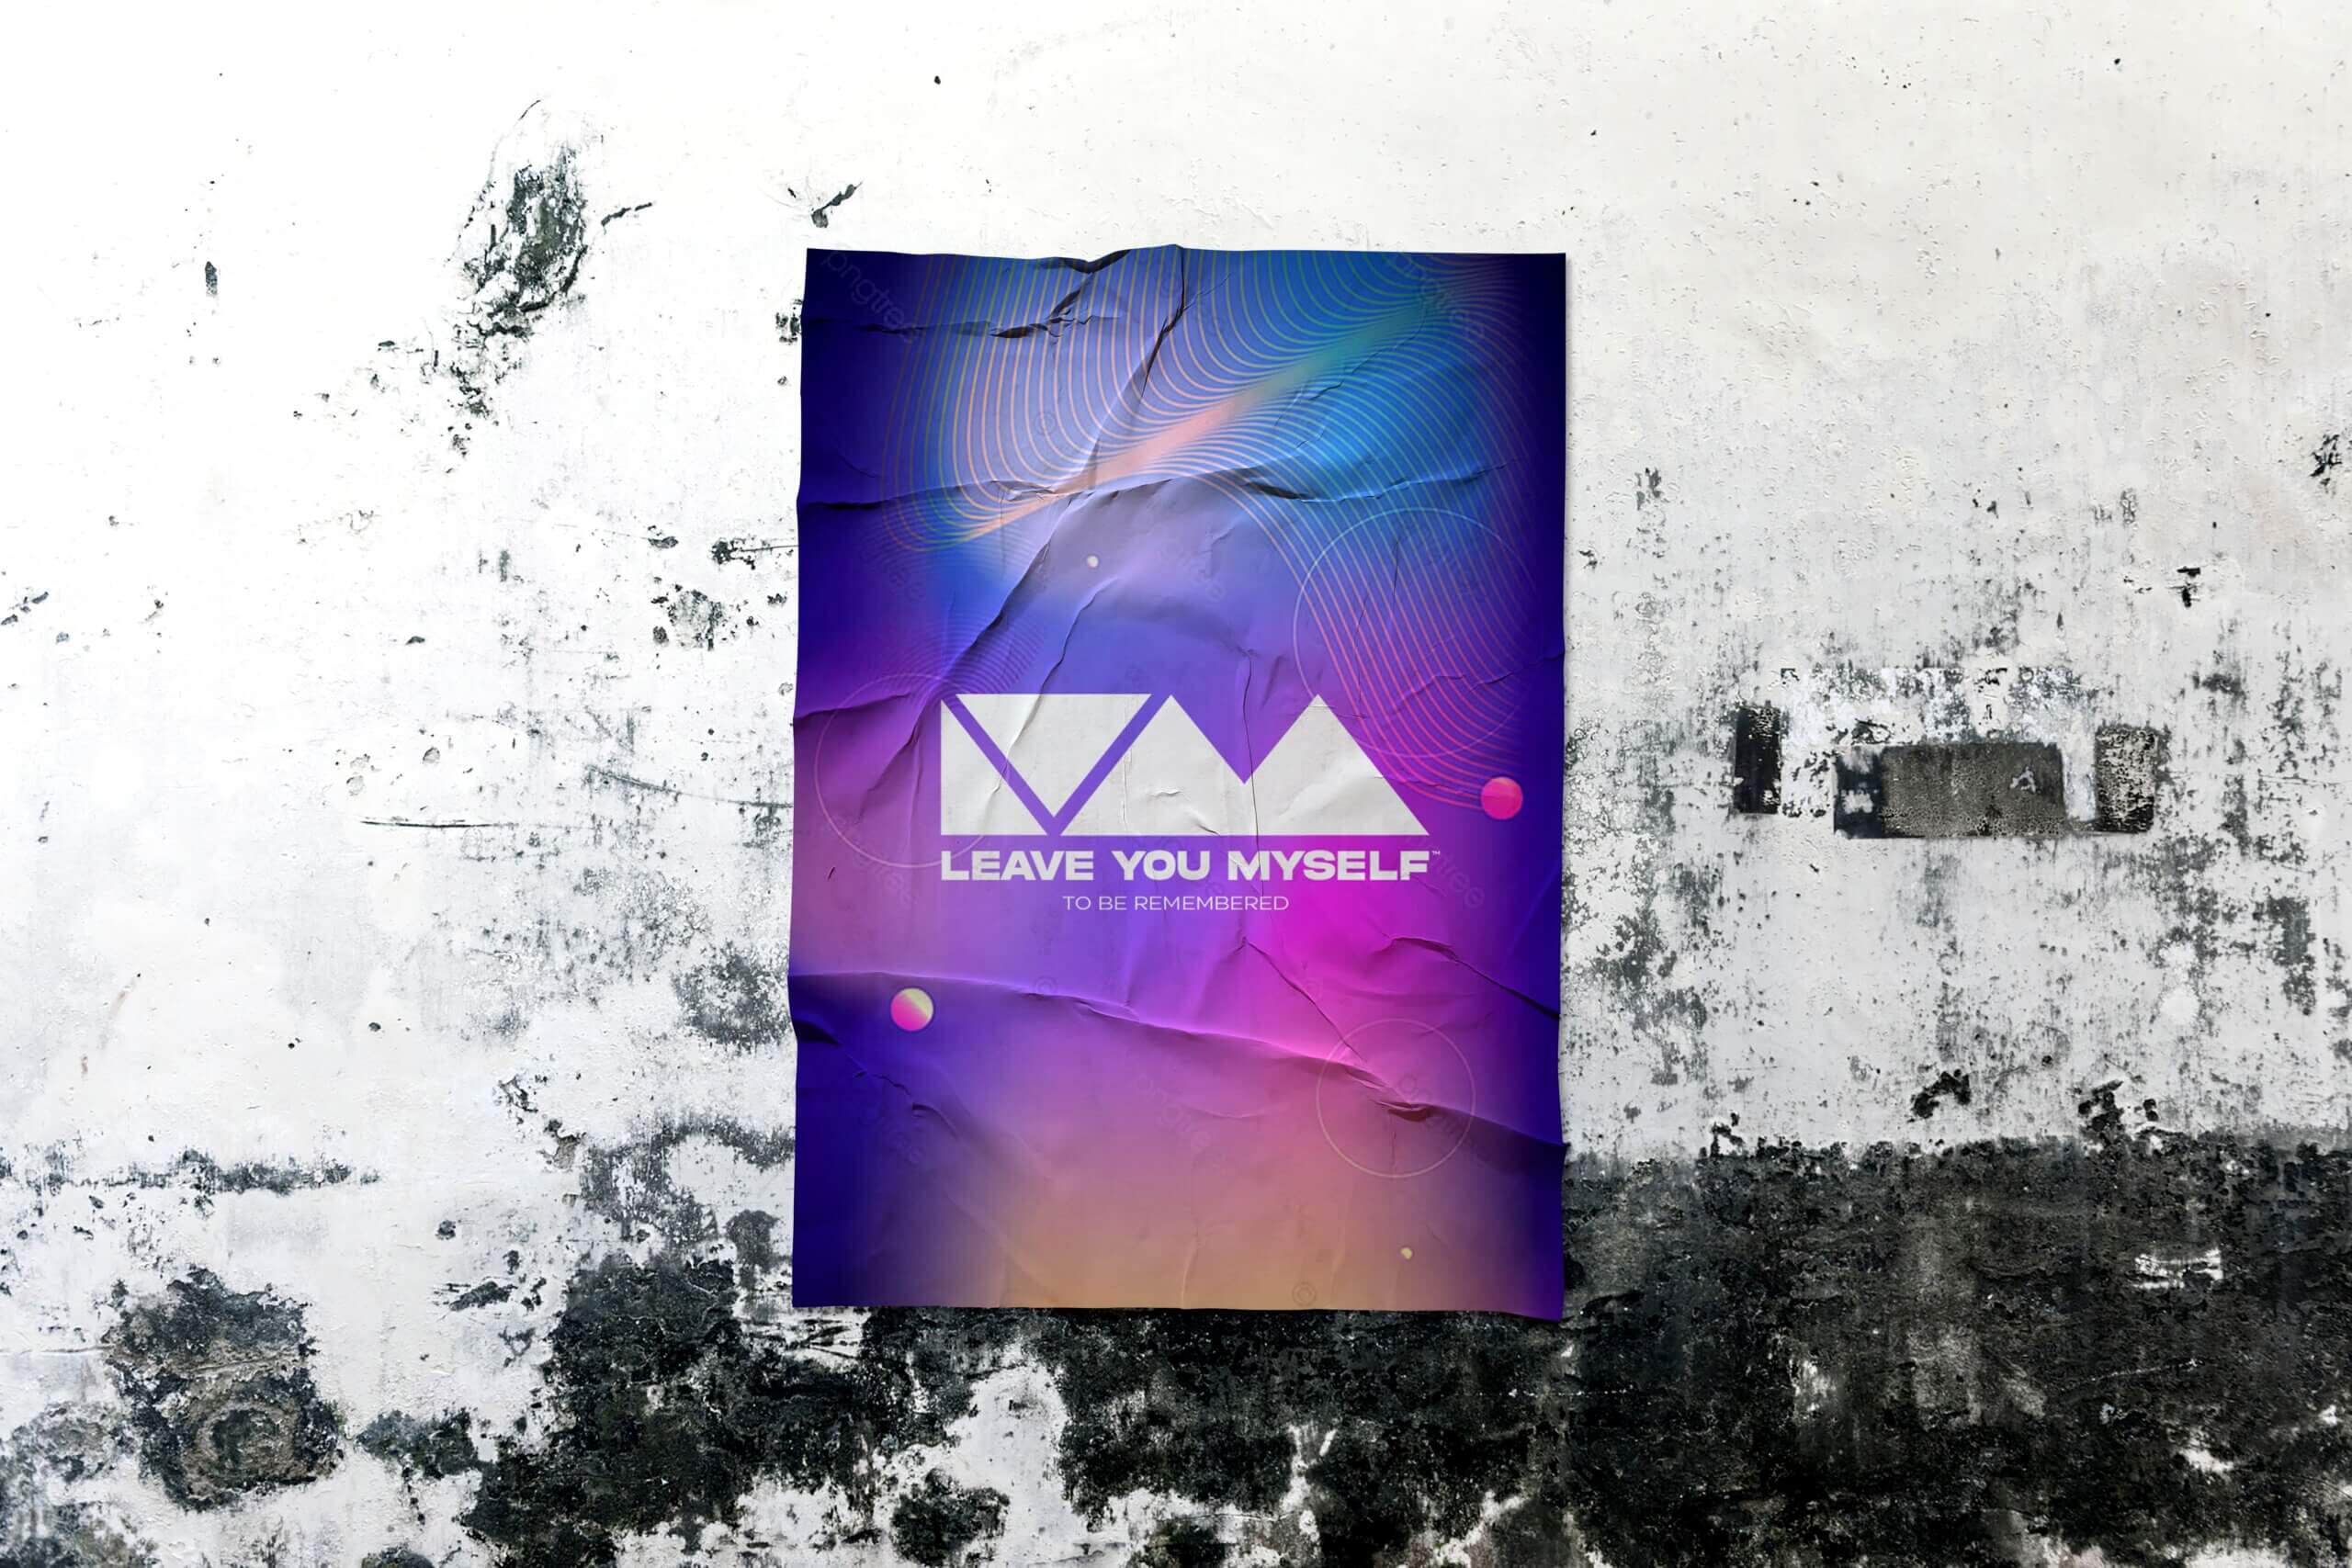
Project by The Logo Creative – Leave You Myself
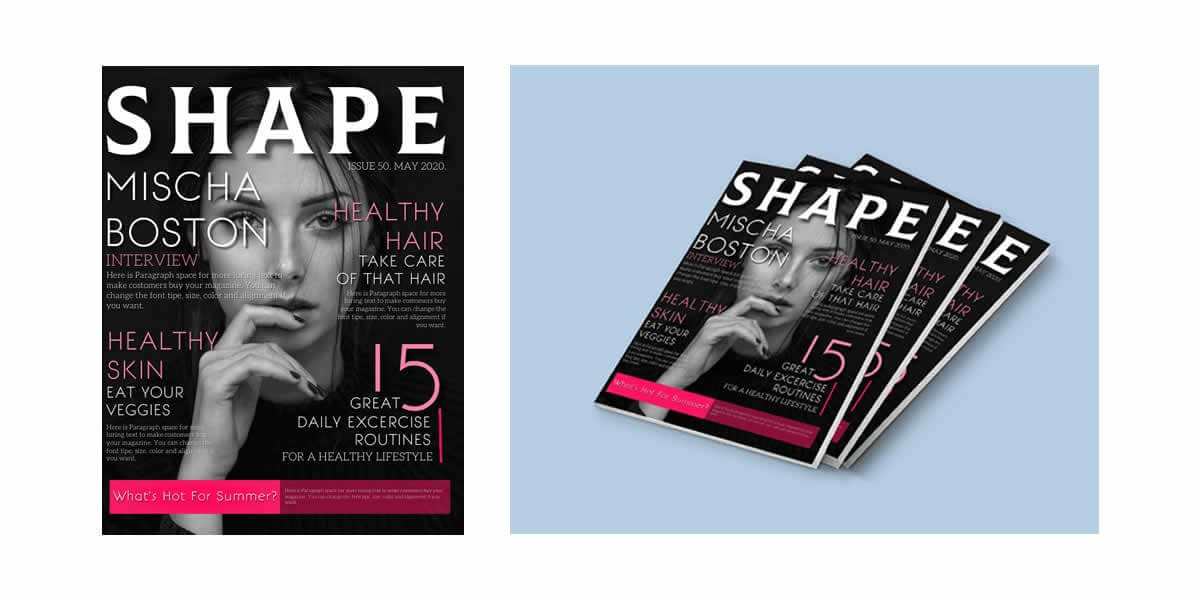
What you do need to do, though, is place all these proposed outlines on a mock-up so the client can see them in their intended function. For example, if your design is supposed to go on a store, you’d want to show the client how the design would look in a store.
Give your client ample time to gather their thoughts. Don’t follow up on their comments on your mock-up a day after you sent it. If you follow up too soon, you might end up with additional comments from the client when you’re already halfway done incorporating the same client’s initial comments. Your client can always change their mind about the font used, for example.
Once the client decides on an outline, have them write their design feedback on paper and sign it.
5. Implement the Feedback Strategically
Before implementing any changes, ensure the client feedback you gathered is comprehensive. Don’t just ask about the font. Ask for comments on the design elements used, such as color and sizes, among other things.
Apply the client’s feedback to their chosen outline. Make sure you’re very meticulous about this. Don’t be selective in addressing client feedback. After all, it’s your client who’s paying for the design. Render the outline to produce the finished product based on all–and I mean all— the feedback you gathered from the client.
That’s not to say you’ll no longer say your piece if you have an issue with a client’s proposed change. Clients, especially if they aren’t marketing specialists, don’t always know best when it comes to design.
A SaaS marketing consultant knows more about marketing for SaaS than a programmer. Similarly, a graphic designer knows more about design than a business owner, at least one with no marketing background.
Take a look at the goals section of the signed creative brief. Make suggestions if you feel addressing your client’s feedback will compromise the project’s goals. Often, the client will appreciate your desire to help out. But don’t insist if your client is hard-pressed on their feedback. As I said, at the end of the day, they hired you to produce an output. They decide whether that output is acceptable or not.
6. Finalize the Project
Let’s say you’ve rendered the design. Place the rendered design on a mock-up for presentation to the client.
During this stage you’re presenting your mock-up, always refer to the signed brief and feedback. That can help prevent any scenario in which the client claims you didn’t apply their comment. If you always refer to the client brief and feedback, you can also stop yourself (and the client) from making any unnecessary stylistic changes to the project.
If the client likes the design and gives their approval, send over the project in their desired file format, for example, in PSD, PNG, or AI.
If the client has any comments, remind them of the document they signed that contains the feedback on the project they gave you. It’s only proper for their subsequent comments not to conflict with previous feedback. Otherwise, you’d have to revise everything again.
If the client has other comments that don’t conflict with what they previously told you, take note of these. Then implement steps 5 to 6 of this guide again until the client is happy with the output.
Depending on your pricing structure as a graphic designer, you may charge additional fees for every edit or revision. Therefore, keep track of these changes for your final price.
In Closing
Graphic design is both an art and a science. It’s an art because you need to have a certain degree of creativity to produce an excellent design. It’s a science because you must also be strategic in your approach to produce an excellent product. That’s where a graphic design workflow can help you.
A designer’s workflow has several steps to it. First, perform market research. Then create a brief and have your client sign off on it. Create your designs based on this brief and place them on a mood board.
Have the client choose from those different outlines and gather feedback on them. Apply the feedback and render the chosen outline. Finally, show the finished design to the client. Have them sign off on it and then submit the final design.
If you follow this graphic design workflow, you can ensure the quality of your final design. In the end, both you and your client will be happy.
Join The Logo Community
We hope this article about How to Create a Graphic Design Workflow has been helpful. If you would like more personal tips, advice, insights, and access to our community threads and other goodies, join me in our community. You can comment directly on posts and have a discussion.
*TIP – We use and recommend DesignCuts for all your fonts, mockups and design bundles.

 Author Bio
Nico prins is the founder of Crunch Marketing, a SaaS SEO agency. The company works with enterprise SaaS clients, helping them scale lead generation globally across EMEA, APAC, and other regions